How to divide the processing steps?
The division of CNC machining processes can generally be carried out according to the following methods:
1. The tool centralized sorting method is to divide the process according to the tools used, and use the same tool to process all the parts that can be completed on the part. Use the second and third tools to complete other parts that can be completed. This can reduce the number of tool changes, compress the idle time, and reduce unnecessary positioning errors.
2. The processing parts sorting method For parts with many processing contents, the processing parts can be divided into several parts according to their structural characteristics, such as inner shape, outer shape, curved surface or plane. Generally, the plane and positioning surfaces are processed first, followed by the holes; simple geometric shapes are processed first, followed by complex geometric shapes; low-precision parts are processed first, followed by high-precision parts.
3. For parts that are prone to processing deformation, it is necessary to carry out sizing due to possible deformation after rough machining. Therefore, in general, all processes that require rough and fine machining should be separated. In summary, when dividing processes, it is necessary to flexibly grasp the structure and processability of the parts, the function of the machine tool, the amount of CNC processing content of the parts, the number of installations, and the production organization status of the unit. It is also recommended to adopt the principle of process centralization or process decentralization, depending on the actual situation, but must strive to be reasonable
What principles should be followed in the processing sequence?
The division of CNC machining processes can generally be carried out according to the following methods:
1. The tool centralized sorting method is to divide the process according to the tools used, and use the same tool to process all the parts that can be completed on the part. Use the second and third tools to complete other parts that can be completed. This can reduce the number of tool changes, compress the idle time, and reduce unnecessary positioning errors.
2. Ordering method based on the processing part For parts with many processing contents, the processing parts can be divided into several parts according to their structural characteristics, such as inner shape, outer shape, curved surface or plane. Generally, the plane and positioning surfaces are processed first, followed by the holes; simple geometric shapes are processed first, followed by complex geometric shapes; low-precision parts are processed first, followed by high-precision parts.
3. Separate the rough and finish machining processes for parts that are prone to machining deformation. Since the rough machining process may cause deformation, it is necessary to carry out shape correction. Therefore, in general, all processes that require rough and finish machining should be separated. In summary, when dividing processes, it is necessary to flexibly grasp the structure and processability of the parts, the function of the machine tool, the amount of CNC machining content of the parts, the number of installations, and the production organization status of the unit. It is also recommended to adopt the principle of process centralization or process decentralization depending on the actual situation, but it must be reasonable.
What aspects should be paid attention to in the workpiece clamping method?
When determining the positioning benchmark and clamping scheme, the following three points should be noted:
1. Strive to achieve uniform standards for design, process, and programming calculations.
2. Minimize the number of clamping times and try to process all the surfaces to be processed after one positioning.
3. Avoid using manual adjustment plans for occupying machines.
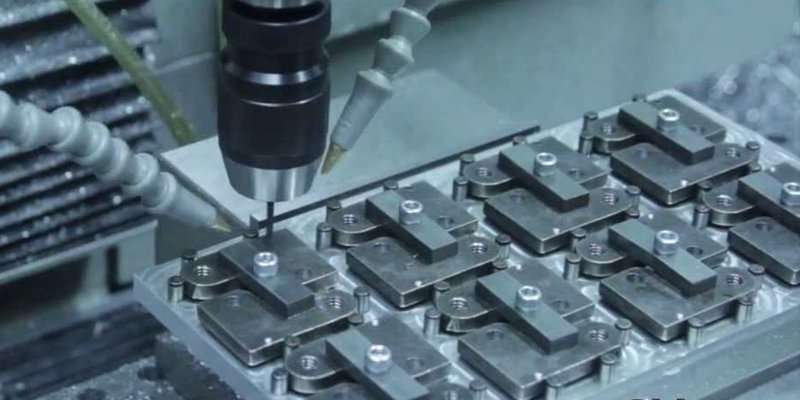
The fixture should be smooth, and its positioning and clamping mechanisms should not affect the cutting process during machining (such as causing collisions). In such cases, it is possible to use a vice or add a base plate to extract the screw for clamping.
How to determine a reasonable tool setting point?
The tool setting point can be set on the processed part, but note that the tool setting point must be the reference position or a part that has been finished. Sometimes the tool setting point is damaged after the first process, which can lead to the inability to find the tool setting point for the second process and later. Therefore, when setting the tool in the first process, it is important to establish a relative tool setting position where there is a relatively fixed dimensional relationship with the positioning reference, so that the original tool setting point can be found based on their relative positional relationship. This relative tool setting position is usually set on the machine table or fixture. The selection principle is as follows:
1) Easy alignment.
2) Easy programming.
3) Small tool setting error.
4) It is easy to inspect during processing.
The origin position of the workpiece coordinate system is set by the operator himself. After the workpiece is clamped, it is determined by tool setting, which reflects the distance and positional relationship between the workpiece and the machine zero point. Once the workpiece coordinate system is fixed, it is generally not changed. The workpiece coordinate system and the programming coordinate system must be unified, that is, during processing, the workpiece coordinate system and the programming coordinate system are consistent.
V. How to choose the cutting path?
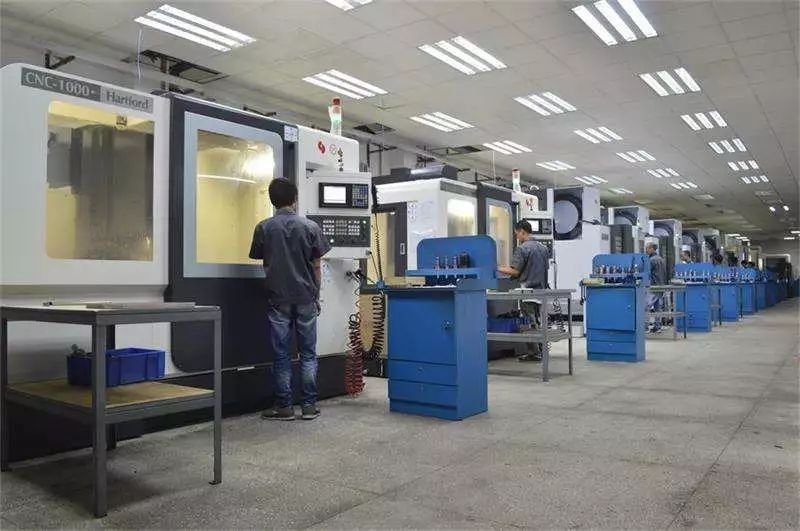
The cutting path refers to the trajectory and direction of the tool relative to the workpiece during CNC machining. The reasonable selection of the processing path is very important, as it is closely related to the processing accuracy and surface quality of the part. The following points should be considered when determining the cutting path:
1. Ensure the processing accuracy requirements of parts.
2. Facilitate numerical calculations and reduce programming workload.
3. Seek the shortest processing route to reduce idle time and improve processing efficiency.
4. Minimize the number of program segments.
5. Ensure the roughness requirements of the workpiece contour surface after processing, and the final contour should be arranged for continuous processing with the last pass.
The advancing and retracting paths of the tool (cutting in and cutting out) should also be carefully considered to minimize the risk of leaving tool marks at the contour due to sudden changes in cutting force, and to avoid scratching the workpiece by cutting perpendicularly on the contour surface.
How to monitor and adjust during the processing process?
After the workpiece is aligned and the program is debugged, it can enter the automatic processing stage. During the automatic processing process, the operator should monitor the cutting process to prevent non-normal cutting from causing workpiece quality problems and other accidents. Monitoring the cutting process mainly considers the following aspects:
1. Monitoring the processing process During rough machining, the main consideration is the rapid removal of excess material from the workpiece surface. During automatic machining on a machine tool, the tool automatically cuts according to a predetermined cutting trajectory based on the set cutting parameters. At this point, the operator should pay attention to observing the changes in cutting load during automatic machining through the cutting load gauge, and adjust the cutting parameters based on the tool’s bearing capacity to maximize the efficiency of the machine tool.
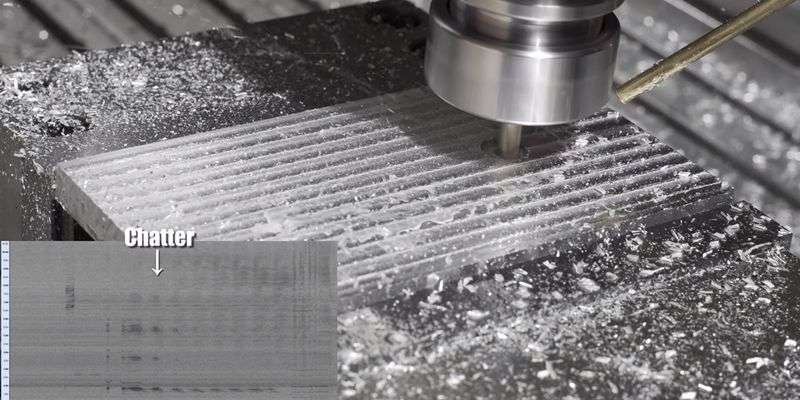
2. Monitoring of cutting sound during cutting process During automatic cutting, the sound of the tool cutting the workpiece is generally stable, continuous, and brisk when the cutting process starts. At this time, the movement of the machine tool is smooth. As the cutting process progresses, when there are hard spots on the workpiece or tool wear or tool feeding and other reasons, the cutting process becomes unstable. The unstable performance is that the cutting sound changes, there will be mutual impact sound between the tool and the workpiece, and the machine tool will vibrate. At this time, it is necessary to adjust the cutting amount and cutting conditions in a timely manner. When the adjustment effect is not obvious, the machine tool should be paused to check the condition of the tool and workpiece.
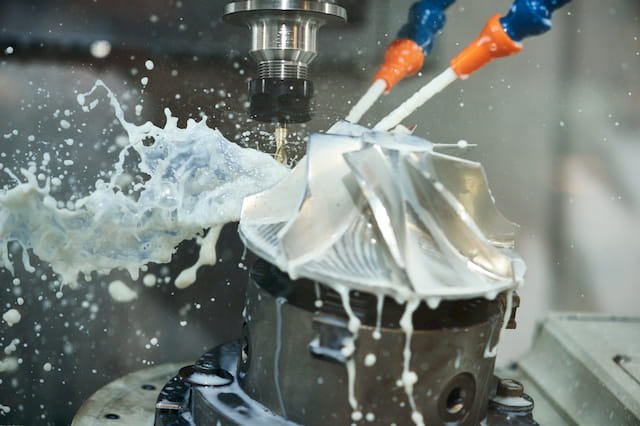
3. Monitoring the finishing process. The main purpose of finishing is to ensure the processing dimensions and surface quality of the workpiece. The cutting speed is high and the feed rate is large. At this time, it is important to pay attention to the impact of the build-up edge on the processed surface. For cavity processing, it is also important to pay attention to overcutting and tool clearance at corners. To solve the above problems, firstly, it is necessary to adjust the spray position of the cutting fluid to keep the processed surface in optimal cooling conditions at all times; secondly, it is important to observe the quality of the processed surface of the workpiece and adjust the cutting amount as much as possible to avoid changes in quality. If the adjustment still has no obvious effect, it is necessary to stop and check whether the original program is reasonable. It is particularly important to pay attention to the position of the tool when pausing or stopping inspection. If the tool stops during cutting and the spindle suddenly stops rotating, it will cause tool marks on the surface of the workpiece. Generally, it is considered to stop when the tool leaves the cutting state.
4. Tool monitoring The quality of the tool largely determines the processing quality of the workpiece. During automatic machining and cutting, it is necessary to judge the normal wear condition and abnormal damage condition of the tool through sound monitoring, cutting time control, pausing inspection during the cutting process, workpiece surface analysis, etc. According to the processing requirements, the tool should be processed in a timely manner to prevent processing quality problems caused by delayed processing of the tool.
How to choose the processing tool reasonably?
1. When performing planar milling, it is recommended to use non-re-grinding carbide end mills or end mills. During general milling, it is recommended to use secondary cutting, with the first pass being a rough cut using an end mill, followed by continuous cutting along the surface of the workpiece. The recommended width of each pass is 60% to 75% of the tool diameter.
2.End mills with end milling cutters and carbide inserts are mainly used for machining bosses, grooves, and box openings.
3. Ball cutters and circular cutters (also known as round nose cutters) are commonly used for machining curved surfaces and varying bevel profiles. Ball cutters are mostly used for semi-finishing and finishing. Cemented carbide-inlaid circular cutters are mostly used for roughing.
What is the function of the processing procedure sheet
1.The processing procedure sheet is one of the contents of the numerical control processing process design, and it is also a procedure that requires the operator to follow and implement. It is a detailed description of the processing procedure, with the aim of allowing the operator to clarify the content of the procedure, the clamping and positioning methods, and the issues that should be noted for the tools selected for each processing procedure.
2. In the processing procedure sheet, it should include: drawing and programming file names, workpiece names, fixture sketches, program names, tools used for each program, maximum cutting depth, processing properties (such as roughing or finishing), theoretical processing time, etc.
What should be prepared before numerical control programming
After determining the processing technology, it is necessary to understand before programming:
1. Workpiece clamping method;
2. The size of the workpiece blank – to determine the scope of processing or whether multiple clamping is required;
3. The material of the workpiece – in order to choose the type of tool used for processing;
4. What are the tools in stock? Avoid having to modify the program during processing because there is no such tool. If it is necessary to use this tool, it can be prepared in advance.
What are the principles for setting the programming security level?
The setting principle of safe height is generally higher than the highest surface of the island. Alternatively, the programming zero point can be set at the highest surface, which can also minimize the risk of tool collision.
Eleven, why do tool paths need post-processing
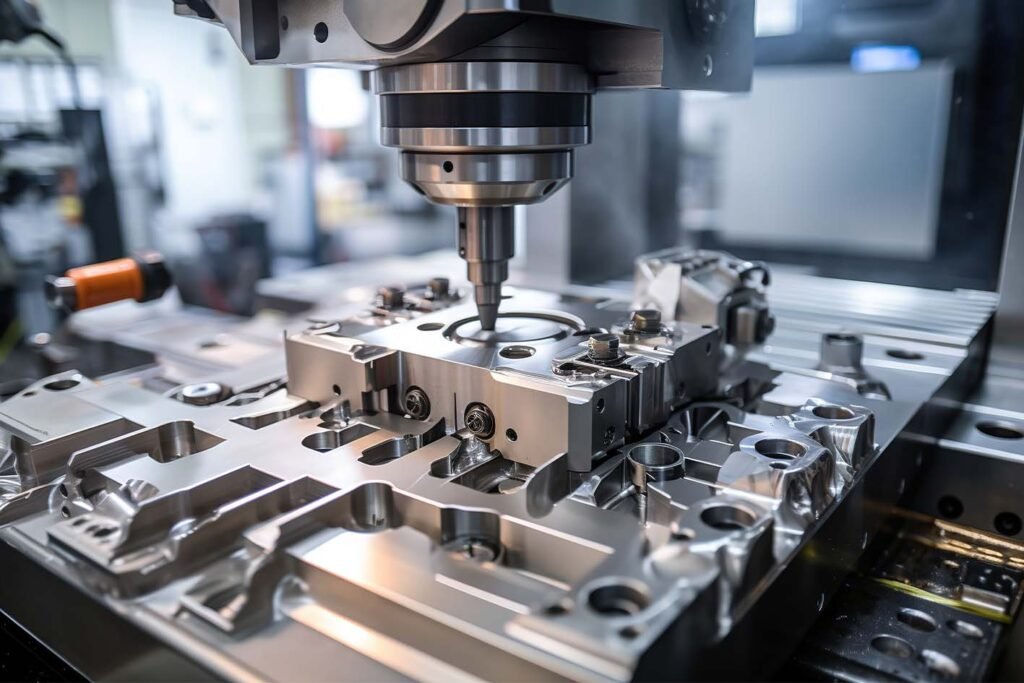
Because different machine tools recognize different address codes and NC program formats, it is necessary to select the correct post-processing format for the machine tool being used to ensure that the programmed program can run
What is DNC communication
The way of program transmission can be divided into CNC and DNC. CNC refers to the transmission of programs through media (such as floppy disks, tape readers, communication lines, etc.) to the memory of the machine tool for storage, and the program is retrieved from the memory during processing. Due to the limited capacity of the memory, when the program is large, DNC can be used for processing. Since DNC processing involves the machine tool directly reading the program from the control computer (i.e., sending and processing simultaneously), it is not limited by the size of the memory.

