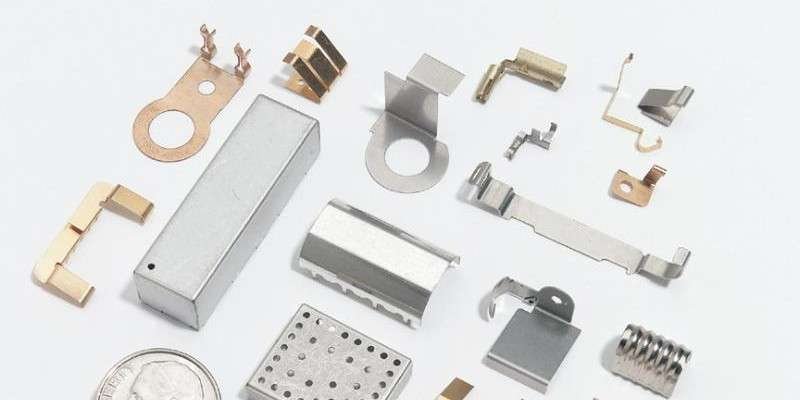
Generally speaking, a plastic injection mold is made up of numerous parts, and the quality of the parts directly affects the quality of it. The final quality of the injection molding parts is ensured by finishing. Therefore, it is important to control the finishing process. Most mold manufacturing companies use grinding, electrochemical machining, and bench work during the finishing stage. During this stage, it is necessary to control many technical parameters such as part deformation, internal stress, shape tolerance, and dimensional accuracy. In specific production practices, there are many operational difficulties, but there are still many effective empirical methods that are worth learning from.
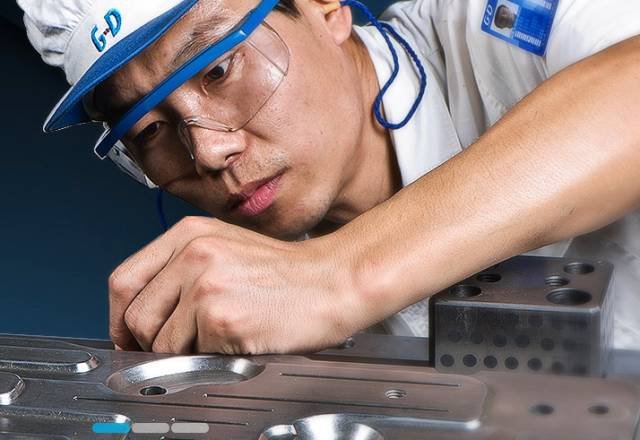
The processing of mold parts can be roughly divided into three categories based on the appearance and shape of the parts: plates, irregular parts, and shafts. The common process is roughly as follows: roughing – heat treatment (quenching, tempering) – fine grinding – electrical processing – fitter (surface treatment) – assembly processing.
1. Heat treatment of parts
The heat treatment process of parts not only requires obtaining the required hardness, but also needs to control the internal stress to ensure the dimensional stability during part processing. Different materials have different treatment methods. With the development of the mold industry in recent years, the types of materials used have increased. In addition to Cr12, 40Cr, Cr12MoV, and hard alloys, new materials such as powder alloy steel, such as V10 and ASP23, can be selected for some high-strength and harsh-force male and female molds. Such materials have high thermal stability and good organizational status.
For parts made of Cr12MoV, after rough machining, they undergo quenching treatment. After quenching, the workpiece has a large residual stress, which can easily lead to cracking during finishing or operation. The parts should be tempered while hot after quenching to eliminate the quenching stress. The quenching temperature is controlled at 900-1020℃, and then cooled to 200-220℃ for air cooling. Then, it is quickly returned to the furnace at 220℃ for tempering. This method is called one-time hardening process, which can achieve high strength and wear resistance. It is effective for molds with wear as the main failure mode. In production, if some workpieces with many corners and complex shapes are encountered, tempering is not enough to eliminate the quenching stress. Before finishing, stress relief annealing or multiple aging treatments are needed to fully release the stress.
For powder alloy steel parts such as V10 and APS23, because they can withstand high-temperature tempering, the secondary hardening process can be used during quenching. The quenching temperature is 1050-1080℃, and then the high-temperature tempering is performed for multiple times at 490-520℃. This process can obtain high impact toughness and stability, which is suitable for molds with chipping as the main failure mode. Although the cost of powder alloy steel is relatively high, its performance is good, and it is forming a widely used trend.
2. Grinding of parts
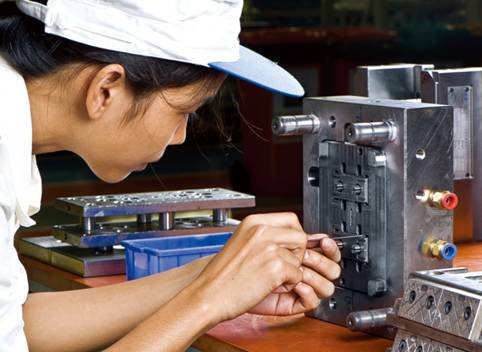
There are three main types of machining tools used for grinding: surface grinders, internal and external grinders, and tool grinders. During fine grinding process, it is necessary to strictly control the generation of grinding deformation and grinding cracks, even if they are very small, as they will be revealed during subsequent processing. Therefore, the feed for fine grinding should be small, not large, the cooling liquid should be sufficient, and parts with dimensional tolerances within 0.01mm should be ground at a constant temperature as much as possible. According to calculations, for a 300mm long steel piece with a temperature difference of 3°C, the material will change by about 10.8μm, which is 10.8=1.2×3×3 (deformation per 100mm is 1.2μm/°C). This factor needs to be fully considered in each fine processing step.
Selecting the proper grinding wheel is of utmost importance for fine grinding, and when applied to mold steel with high vanadium and molybdenum content, GD single crystal corundum wheels are best suited. Organic bond diamond grinding wheels are typically utilized when working with materials having high quenching hardness. Organic bond grinding wheels offer superior self-grinding capabilities, and workpiece roughness can reach Ra=0.2mm with this option. Over time, CBN grinding wheels (i.e. cubic boron nitride grinding wheel) have shown outstanding processing effect due to new materials used for their manufacture. When applied in CNC form grinding, coordinate grinding, CNC internal and external grinding operations – CBN is superior in terms of its processing capability compared with other types of grinding wheels. As part of the grinding process, it is vital that a grinding wheel be regularly trimmed to maintain its sharpness. Otherwise, its passivation could result in burns on the surface and reduce its strength significantly.
Most of the processing of plate-type parts is done using surface grinders. During processing, a long and thin sheet part is often encountered, which is difficult to process. During processing, the workpiece deforms under the action of magnetic attraction, clinging to the surface of the workbench. When the workpiece is removed, it will deform back to its original shape. The thickness measurement is consistent, but the parallelism cannot meet the requirements. The solution can be achieved by using magnetic separation grinding method. During grinding, a block with equal height is placed under the workpiece, and four side blocks are placed against it. During processing, small feed and multiple passes are used. After processing one side, the equal height block can be removed and the workpiece can be directly adsorbed for processing. This can improve the grinding effect and meet the parallelism requirements.

Axle parts have rotating surfaces, and their processing is widely carried out using internal and external grinders and tool grinders. During the processing process, the headstock and the center point are equivalent to the busbar. If there is a problem with the runout, the processed workpiece will also have this problem, affecting the quality of the part. Therefore, it is necessary to perform inspection work on the headstock and the center point before processing. When grinding the inner hole, the cooling liquid should be fully poured onto the grinding contact position to facilitate the smooth discharge of grinding. When processing thin-walled shaft parts, it is best to use a clamping process table, and the clamping force should not be too large, otherwise it is easy to produce “inner triangle” deformation on the circumference of the workpiece.
3. Electrical machining control
Modern mold factories cannot do without electrical machining, which can process various shaped and high-hardness parts. It is divided into wire cutting and electric sparking.
The machining accuracy of wire cutting can reach ±0.003mm, with a roughness of Ra0.2μm. When starting the machining process, it is necessary to check the condition of the machine tool, the deionization degree of the water, the water temperature, the perpendicularity of the wire, the tension, and other factors to ensure a good machining state. Wire cutting is a process of removing material from a whole piece, which destroys the original stress balance of the workpiece and easily causes stress concentration, especially at corners. Therefore, when R<0.2 (especially for sharp corners), suggestions for improvement should be made to the design department. During the machining process, the method of dealing with stress concentration can be applied by using the principle of vector translation. Before finishing, a margin of about 1mm should be left, and the rough shape should be pre-processed. Then, thermal treatment can be carried out to release the processing stress before finishing, ensuring thermal stability.
When processing the male die, the selection of the cutting position and path of the wire should be carefully considered. The best result is achieved by using punching and threading. High-precision wire cutting is usually performed four times to ensure part quality. When processing a female die with taper, in the spirit of fast and efficient, the first pass is rough machining straight edges, the second pass is taper machining, and then the straight edges are refined. This eliminates the need for X-section vertical finishing, and only refines the straight edges of the cutting edge section, saving time and cost.
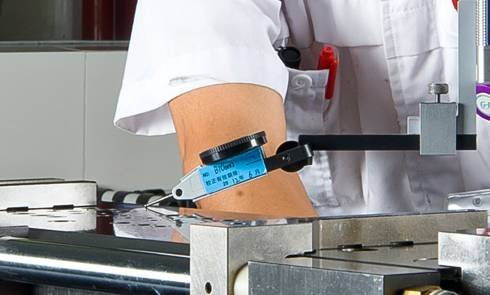
In EDM, it is necessary to first produce electrodes, which can be divided into rough and fine electrodes. Fine machining electrodes require good shape consistency and are best processed using CNC machine tools. When selecting the material for the electrode, copper electrodes are mainly used for general steel processing. Cu-W alloy electrodes have good comprehensive performance, especially in the process of machining, with significantly lower consumption than copper. With sufficient flushing fluid, they are suitable for machining difficult materials and finishing complex sections. When producing electrodes, it is necessary to calculate the gap size and number of electrodes. When performing large-area or heavy electrode processing, the workpiece and electrode clamping should be secure to ensure sufficient strength and prevent loosening during processing. When performing deep step machining, attention should be paid to the loss of the electrode at various locations and the arcing caused by poor drainage.
4. Surface treatment and assembly
The surface of the part left with tool marks and grinding marks during processing is the place where stress concentrates and is the source of crack propagation. Therefore, after processing, it is necessary to strengthen the surface of the part and remove the processing hazards through fitter grinding. Some edges, sharp angles, and orifices of the workpiece are blunted and R-treated. Generally, the surface of the electrical processing will produce a metamorphic hardened layer of about 6-10μm, which is grayish white in color. The hardened layer is brittle and has residual stress. Before use, it is necessary to fully remove the hardened layer by surface polishing and grinding.
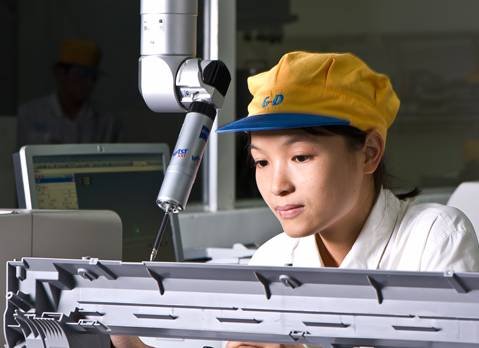
During grinding and electrochemical processing, the workpiece will be magnetized to a certain extent, with a weak magnetic force, which is very easy to attract some small things. Therefore, before assembly, the workpiece should be demagnetized and the surface should be cleaned with ethyl acetate. During assembly, first refer to the assembly drawing, find all parts, and then list the equipment sequence of each part. List the precautions to be taken, and then start to assemble the mold. Generally, the guide post and guide sleeve are installed first, followed by the mold frame and male and female molds. Then adjust the clearance of each part, especially the clearance between male and female molds. After assembly, the mold should be tested and a report on the overall situation should be written. For any problems found, the reverse thinking method can be used, that is, from the post-process to the pre-process, from fine processing to rough processing, and check one by one until the crux is found and the problem is solved.
Practice has proved that good finish machining process control can effectively reduce part out-of-tolerance and scrap, and effectively improve the one-time success rate and service life of the mold.


